A close friend and first-time flyer recently asked me for some “air travel basics.” As a frequent flyer and traveler from a young age, I realized how hard it is to put myself back in the shoes of someone who is flying for the first time. Most of the advice I initially gave was not helpful because she had no idea what I was talking about. I intentionally slowed down on my most recent trip to see things through the eyes of someone who has never booked a flight or even set foot in an airport.
This is the CARE Travel Air Travel Basics guide to help you navigate your way from booking to landing in your destination with total confidence!
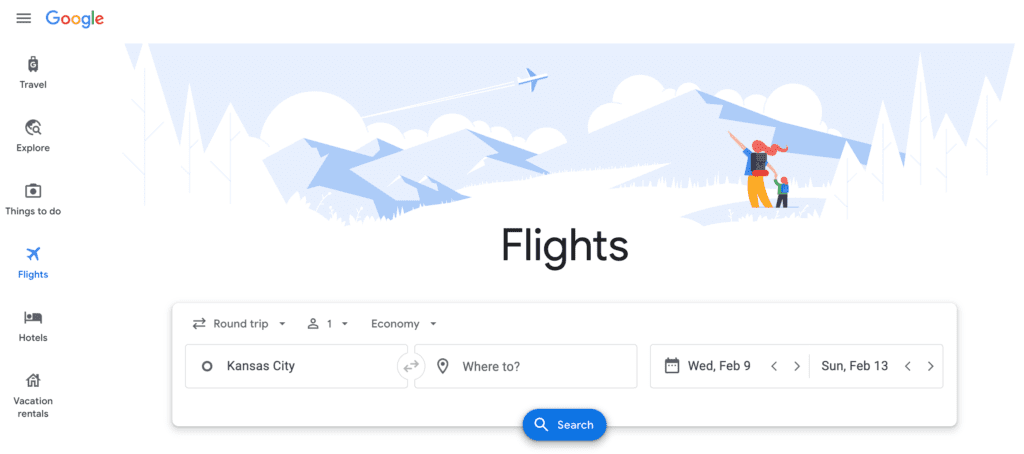
Booking Your Flight
If this is truly your first time flying, you want to start here! Answer a few questions:
- Where are you going?
- What are the dates? Are your dates flexible?
- Are you planning to check a bag?
- Do you care where you sit on the plane? Or need to select seats next to someone else?
When you search for the best prices and flight times it’s helpful to try different airlines. If you’re starting with a Google search, know that not every airline list flights that way. For example, Southwest Airlines must be searched directly through its website. Google Flights is an incredible tool and easy way to see some of the best deals in one place!
If your destination doesn’t offer a direct flight from your point of departure, make sure to take notice of how long your layover is. When you fly from your home airport to the layover destination, you will need time to navigate that airport and make your way to the next gate to board your next flight.
Once your flight is booked, you’ll receive a confirmation email. You can revisit that email if you need to make flight changes or cancel your flight for any reason. Your confirmation number given by the airline will be a combination of 6 letters & numbers. Ex. B9PDB5 This number along with your full name will allow you to search the flight you booked on the airline website or mobile app.
Checking Into Your Flight

You will be able to check into your flight 24 hours prior to your departure time. I would highly recommend downloading the mobile app for whatever airline you booked with. If you created a login at the time of booking, log in on your phone and your upcoming trip should pull up right away. If not, the confirmation number in your email and your name will allow you to access your reservation.
During the check-in process, you can select the number of checked bags you are taking, and pre-pay so that’s one less thing to do at the airport. There will also be an option to save your airline ticket to your Apple Wallet once you receive the email saying you’ve successfully completed check-in. I would recommend this as well! It makes the arrival at the airport even easier since you’ll have your ticket already.
Arrival At the Airport
Currently, you need to be fully prepared to wear a mask for the duration of your travel day upon arrival at the airport. Airlines are strictly enforcing the mask mandate which is still in effect for public transportation. Bring a mask with you and adhere to the guidelines. If you don’t, you may be refused service and put on a no-fly list moving forward. Trust me, it’s not worth it!
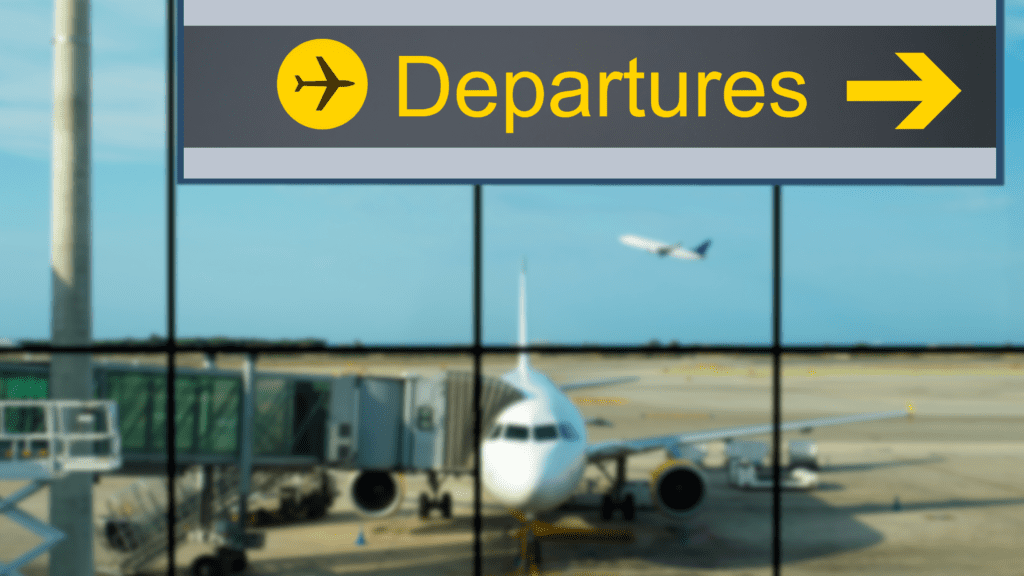
Selecting the Correct Terminal
Terminals are organized by the airline. They are also differentiated by domestic vs. international flights. Read the signage as you arrive so select the correct terminal. Also, take note of whether you’re pulling up to arrivals or departures. When you’re leaving to go on your trip you want to go to the departure area. That’s where the airline ticket desks are and where you’ll be able to check your bag and go through TSA. Arrivals is where you can tell your family member or friend to pick you up. That’s also where you’ll find Uber, Lyft, and taxis.
Check-In/Bag Drop Off
Although you’ve already checked in online, if you’ve decided to check a bag, you’ll still need to stop at the ticket counter for whichever airline you’re flying with. There are often kiosks that allow you to bypass lines. This is where your electronic ticket comes in handy! You can just scan your ticket barcode and the kiosk will pull up your reservation and print off the sticker you’ll attach to your checked bag. After putting the sticker on your bag, you can take it to the bag drop area. Have your ID and boarding pass handy here as the ticket agent will need to verify your identity and make sure the name on your boarding pass matches your ID.
TSA

- Have your boarding pass & ID ready
- No liquids over 3.5oz and all liquids must be in one 1quart-sized resealable bag
- I would recommend keeping liquids in your checked bag to avoid having to take anything out of your carry on.
- Shoes must come off
- All electronics larger than a cell phone must come out of your bag
- Laptops need to be removed from cases and placed in their own bin
- Remove jackets/outerwear
- Completely empty your pockets
TSA Pre-check is an option you can sign up for. It’s $85 for 5 years and if you travel often, it’s well worth the cost! TSA Pre-check allows you to go through a “pre-approved” traveler line. You don’t have to take things out of your bags or take off your shoes.
Although you must completely empty your water bottle prior to going through TSA, I always think it’s worthwhile to bring a reusable water bottle with you. Once you’re through security you’ll be ready to refill and stay hydrated during your travel day. Check out our list of our Packing Essentials for more ideas about what to pack!
Finding Your Gate
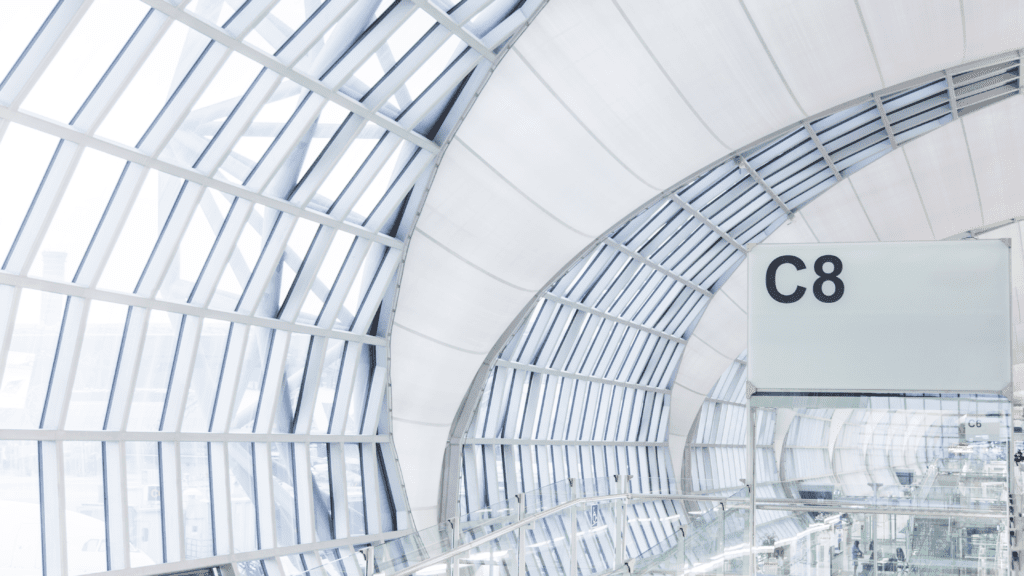
Your ticket will list your gate, which is always a letter followed by a number. (Ex. B12) By looking at one of the departure boards in the airport you can double-check that your ticket has listed the correct gate. The boards are organized by destination in alphabetical order and then by time. Gates can change which is why it’s so nice to have an electronic ticket that will notify you of gate changes.
A lot of airlines have altered their onboard food and drink offerings due to Covid-19. If you know you’ll be hungry, make sure you pack a snack or make time to eat at the airport. Once you’ve found your gate, now’s the time to venture out!
Reading your ticket
- Gate – Lets you know where your flight will be boarding in the airport
- Flight Number – Your flight number will have the airline code and a number. (ex. United Airlines = UA 498)
- Departure Location to Arrival Location – Where you are leaving from and where you are going. It’s always nice to see that you’re going to the correct place! These will be listed in as airport codes. (DEN to MCI = Denver to Kansas City)
- Seq – (Sequence) This is the order in which you checked in to your flight. For example, your sequence number is 066, you’re the 66th person to check in.
- Boarding Time – Departure time is helpful to know, but the boarding time is very important. Although the plane may be taking off at 8:00 am, boarding often begins at either 7:15 am or 7:30 am. Boarding usually closes 15 minutes prior to departure, and you don’t want to be late.
- Seat – Your seat selection shows you where to go on the plane. Look just below the overhead bins, the seat numbers are clearly marked. You’ll have no trouble spotting where your seat is.
- Group – The group number tells passengers which group they will board with. Gate agents will announce one group at a time, boarding first- and business-class passengers first and then loading from the back of the plane to the front of the plane. Some airlines, like Southwest Airlines, who do not have assigned seating will board based on class.
- Passenger Name – Your name should be listed and should match your government issued ID exactly.
- Class – Sometimes this is specified, other times it’s not. The class determines if the passenger is sitting in first, business or economy class. Many times, A and F are first class, C, D, J are business class. Most other letters mean economy class.
Boarding Your Flight
Once you’re settled at your gate it’s just a matter of time until they begin calling boarding groups. Take another look at your ticket and keep that boarding group in mind. When they call your boarding group, head over to the podium, scan your ticket, and make your way onto the plane. Double-check your seat assignment and settle in!
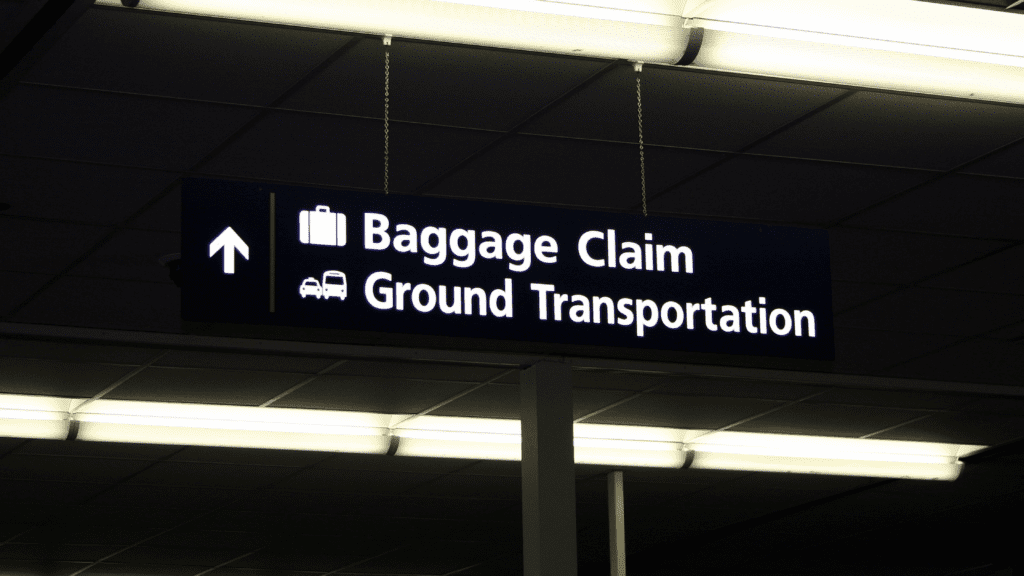
Picking Up Your Checked Bag
Whether you decided to check a bag or not, you’ll be heading in the same direction no matter what. Follow the signs for “Baggage Claim.” Sometimes they announce on your flight which baggage claim terminal where your bag will be located. Other times the flight crew isn’t made aware quickly enough to share that information before deplaning. There are always signs.
Ground Transportation
You made it! Now all you have to do is find your ride. Baggage claim should have plenty of signage. If you’re planning on Uber or Lyft, there is usually a designated pick-up spot. If you’re heading to a private transfer ALL of those details should be included in your itinerary. Even the color of the uniforms.
We hope this guide made your trip a little easier by taking it back to the basics!
